
A portrait photography course gives you the structured path to master lighting, posing, and composition through nine comprehensive online lessons, typically available from $30 per week with no prior experience required. Whether you’re picking up a camera for the first time or looking to refine your technique, these self-paced courses provide the systematic framework that transforms snapshot-takers into confident portrait photographers.
The beauty of modern portrait courses lies in their accessibility. You can start learning tonight, moving through lessons at your own speed while building a portfolio that reflects your unique vision. Most courses operate in English and welcome all skill levels, making professional-quality portrait instruction available to anyone with a camera and an internet connection.
What sets portrait photography apart from other genres is the human element. You’re not just capturing a face; you’re revealing personality, emotion, and story through deliberate choices in lighting direction, lens selection, and subject interaction. A good course doesn’t just teach you camera settings. It shows you how to direct your subjects naturally, recognize flattering light in any environment, and develop the technical confidence that lets you focus on connection rather than fumbling with dials.
This guide walks you through what to expect from portrait photography courses, the gear you’ll actually need to start, and the progressive skills you’ll build from your first lesson to your final project. If you’re coming from zero photography knowledge, pairing course work with a solid beginner photography guide will accelerate your understanding of foundational concepts like exposure and focus before you dive into portrait-specific techniques.
What You’ll Need to Get Started
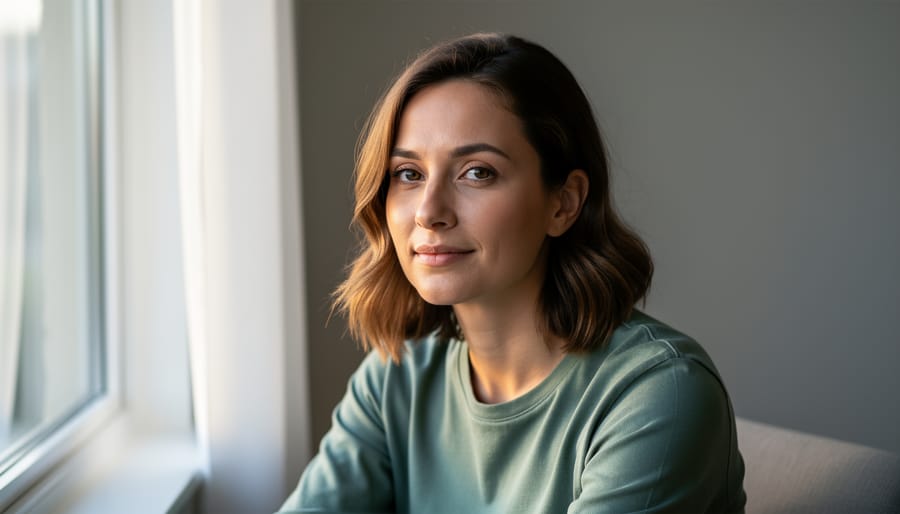
You don’t need thousands of dollars in gear to start learning portrait photography. Most online courses are designed with all levels in mind, including complete beginners with basic equipment. The beauty of starting with a structured course is that instructors teach you to work with what you have, building skills that matter more than expensive gear.
Here’s what you’ll actually need:
- A camera with manual controls: DSLR, mirrorless, or even a smartphone with portrait mode capabilities. You don’t need the best camera for portraits to learn fundamentals; you need one that lets you adjust aperture, shutter speed, and ISO.
- A portrait-friendly lens: A 50mm lens is the affordable workhorse (often under $200 for entry-level versions), while an 85mm provides beautiful compression and flattering perspective. If you’re shooting on a smartphone, you already have suitable focal lengths built in.
- Lighting equipment: Start with natural light from windows or outdoor settings. As you progress, a single affordable speedlight or continuous LED panel (around $50-100) opens up studio techniques without breaking the bank.
- A tripod: Stabilizes your camera for self-portraits, allows precise composition, and frees your hands for directing subjects. Budget options around $30-50 work fine for learning.
- Editing software: Adobe Lightroom is the industry standard, but free alternatives like Darktable or the mobile Snapseed deliver solid results while you’re learning workflow fundamentals.
The research on using 35mm or 85mm for portraits shows how lens choice affects facial proportions, but don’t obsess over gear at the start. Many successful portrait photographers began with kit lenses and window light. Your course will teach you to see light, direct subjects, and compose thoughtfully. Those skills translate across any equipment level, and you can upgrade strategically as you discover what type of portrait work excites you most.
Understanding Portrait Photography Course Structures
Online portrait photography courses come in two main formats, each designed for different learning preferences. Self-paced courses let you work through lessons on your own schedule, pausing and revisiting modules as needed, ideal if you’re juggling work, family, or other commitments. Scheduled courses follow a fixed timeline with set lesson release dates and sometimes live sessions, which creates accountability and community interaction but demands more rigid time management.
Most structured portrait courses break content into modules that build progressively. A typical course includes nine comprehensive lessons covering everything from camera fundamentals and aperture settings through advanced studio lighting and post-production editing. This modular approach lets you master one concept before moving forward, rather than feeling overwhelmed by trying to learn everything simultaneously.
Pricing structures vary significantly across platforms. Many courses operate on weekly subscriptions starting around $30 per week, which spreads the cost but requires you to maintain momentum to get value. Others offer one-time purchase options ranging from $100 to several hundred dollars for lifetime access, better value if you anticipate needing extended time or wanting to revisit lessons months later. Some platforms also offer monthly bundles or annual passes if you’re interested in multiple photography disciplines beyond portraits.
Language accessibility matters too. Most established courses are taught in English, but the rise of global learning platforms means you’ll increasingly find courses with subtitles or full instruction in other languages. Check whether transcripts are available, they’re valuable for reviewing technical terms and settings even if English is your first language.
Before You Begin: Setting Expectations and Avoiding Common Pitfalls
Starting a portrait photography course feels exciting, but reality hits differently than expectations. Most beginners assume they’ll produce magazine-worthy portraits after a few lessons, then feel discouraged when their first attempts look amateur. That frustration is normal, but it derails many promising photographers who quit too early.
Skill development follows a slower timeline than most courses advertise. Expect three to six months of consistent practice to feel comfortable with camera settings, lighting basics, and subject direction. The nine-lesson courses available from $30/week are self-paced for good reason: you need time between modules to shoot, review your work honestly, and apply feedback before moving forward. Trying to complete everything in three weeks produces surface-level knowledge that crumbles under real shooting pressure.
The gear trap catches nearly everyone. Beginners see professional portraits and assume expensive cameras and lighting kits made the difference. They don’t. Understanding light, composition, and connection with your subject matters infinitely more than equipment specs. Start with whatever camera you have, even a capable smartphone works for learning fundamentals. Master exposure, framing, and natural light before considering studio equipment purchases. Most beginner spending should go toward the course itself and practice time, not gear.
Space considerations matter more than beginners realize. If you’re learning studio lighting techniques, you’ll need room to position lights at varying distances and angles. A cramped bedroom won’t work for three-light setups. Before reaching those lessons, identify where you can practice safely without tripping hazards from light stands and cables. You’ll also need willing subjects, which means managing their time respectfully, don’t ask friends to sit for three-hour experimental sessions while you fumble through Lightroom editing tips afterward.
The photographers who succeed treat courses as structured frameworks, not magic solutions. They practice relentlessly between lessons, accept that progress comes in frustrating plateaus, and focus on fundamentals before chasing advanced techniques or expensive equipment.
Step-by-Step: Working Through Your Portrait Course
Step 1: Master Your Camera Setup and Settings
Your first lessons will center on the exposure triangle, aperture, shutter speed, and ISO, but you’ll learn to think about them specifically for portraits rather than general photography. Start with aperture wide open (f/1.8 to f/2.8 if your lens allows) to create that creamy background blur that separates your subject from distractions. This shallow depth of field is portrait photography’s signature look.
Shutter speed matters more than beginners expect. You need at least 1/125th of a second to freeze facial expressions and prevent motion blur, even when your subject feels still. ISO stays as low as possible (100-400) in good light to maintain smooth skin tones without digital noise, but you’ll raise it rather than let shutter speed drop too low.
Focus technique makes or breaks portraits. Most courses teach Eye AF for accurate focus which modern cameras handle brilliantly, your camera locks onto the nearest eye and tracks it. If your camera lacks this feature, switch to single-point autofocus and place that point directly on the eye closest to you.
Practice sessions usually start simple: photograph a willing friend at different apertures to see how background blur changes, then shoot at various shutter speeds to understand what freezes motion versus what introduces blur.
Step 2: Learn Lighting Fundamentals
Once you’ve locked down your camera fundamentals, lighting becomes the game-changer in portrait work. Most courses introduce you to the language of light first: direction (front, side, back), quality (hard versus soft), and color temperature (warm golden tones versus cool blue daylight). You’ll learn that a single light source positioned at different angles creates entirely different moods on a face.
Start with window light exercises, position your subject near a large window and observe how the light wraps around features when they face it directly versus turning to the side. Courses typically guide you through the golden hour next, teaching you to shoot outdoors during the hour after sunrise or before sunset when natural light is soft and flattering. You’ll practice metering for skin tones and managing harsh midday sun with reflectors or shade.
Basic one-light setups come after you understand natural sources. You’ll experiment with a single speedlight or continuous LED, learning how distance and modifiers change the quality, moving the light closer softens it, adding an umbrella spreads it, aiming it from 45 degrees above creates dimension. The goal isn’t memorizing patterns yet; it’s training your eye to see how light sculpts a face and recognizing when shadows enhance versus obscure your subject’s features.
Step 3: Develop Posing and Direction Skills
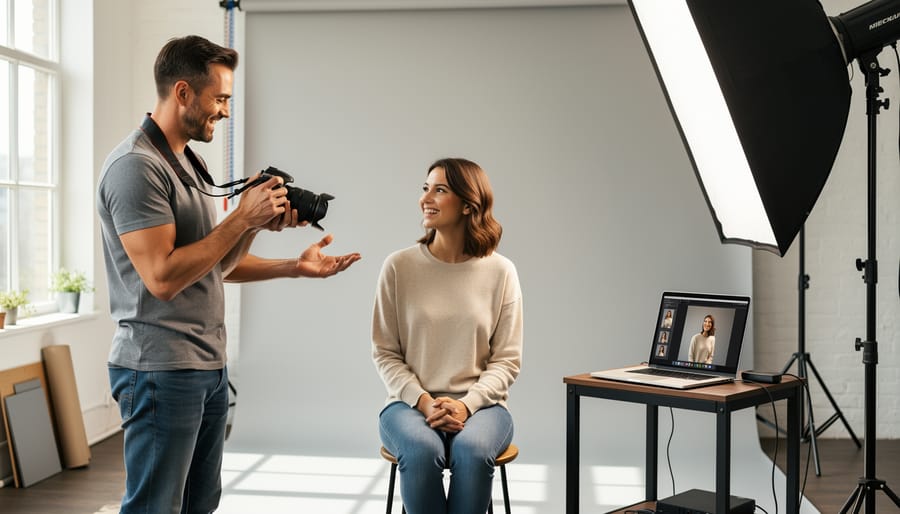
Once your technical skills are solid, this module teaches the interpersonal side of portraiture. You’ll start with foundational posing principles: angling the body slightly rather than square to camera, positioning hands naturally (avoid clenched fists or dangling arms), and using subtle weight shifts to create dynamic rather than static compositions. Courses typically demonstrate classic poses for individuals, then progress to couples (creating connection through proximity and eye contact without awkward stiffness) and family groups (managing multiple subjects at different heights while maintaining visual balance).
The verbal direction component is equally crucial. You’ll learn conversational prompts that elicit genuine expressions rather than forced smiles: asking subjects to laugh, look away then back, or recall a happy memory. Courses emphasize establishing rapport quickly, reading body language to identify discomfort, and adjusting your approach for shy versus outgoing personalities. Practice sessions focus on giving clear, confident instructions while maintaining a relaxed atmosphere.
By the end of this step, you’ll confidently guide anyone from awkward standing to natural, flattering poses within minutes, transforming nervous subjects into relaxed participants who trust your direction.
Step 4: Apply Studio Lighting Techniques
Once you’ve built confidence with natural and modified light, a portrait photography course will introduce you to the controlled precision of studio lighting. This is where you gain the ability to create consistent, reproducible results regardless of ambient conditions.
You’ll start with basic two-light setups, learning how a key light shapes the face while a fill light controls shadow depth. Most courses provide detailed diagrams showing light placement at specific angles, typically 45 degrees from your subject for the key light, with the fill positioned opposite at a lower intensity. Understanding light ratios (the difference between highlight and shadow brightness) becomes crucial here; a 2:1 ratio produces subtle dimension, while 4:1 creates drama.
The curriculum will walk you through classic lighting patterns that professional portrait photographers rely on daily. Rembrandt lighting creates a distinctive triangle of light on the shadowed cheek, achieved by positioning your key light high and to one side. Butterfly lighting places the light directly in front and above the subject, casting a small shadow under the nose, ideal for beauty and glamour work. Split lighting divides the face exactly in half, with one side illuminated and the other in shadow, producing a powerful, moody effect.
You’ll experiment with modifiers that transform harsh light into flattering illumination: softboxes spread and diffuse light for gentle skin rendering, umbrellas provide broader, wrap-around light, and reflectors bounce fill light without requiring additional power sources.
Step 5: Master Post-Production and Editing
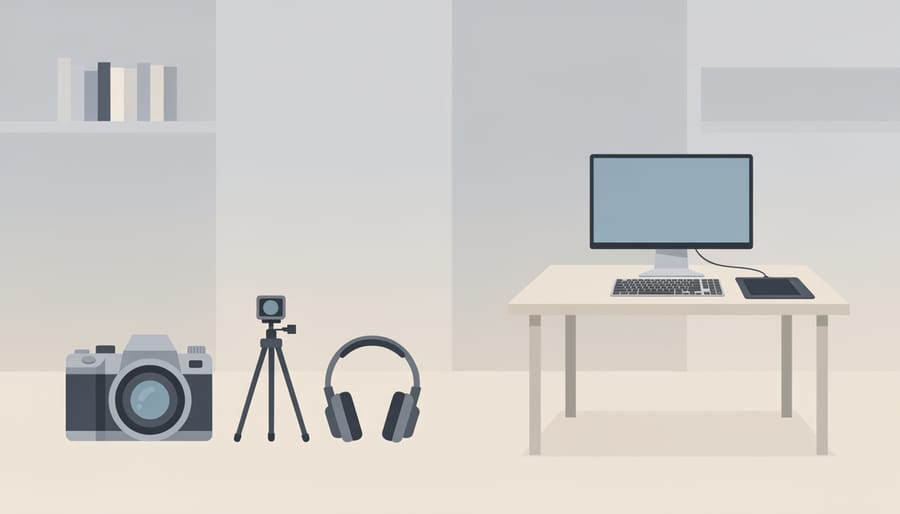
Your course’s final lessons transform raw captures into polished portraits through a systematic editing workflow. Start by importing images into Lightroom or your chosen software and culling ruthlessly, only work with your strongest frames. Establish a consistent process you’ll repeat for every session:
- Adjust exposure and white balance to correct skin tones and overall brightness
- Apply selective skin retouching using the healing brush for blemishes and the adjustment brush for softening (aim for natural texture, not plastic smoothness)
- Refine color grading with HSL sliders to shape mood, warmer tones for intimacy, cooler for drama
- Sharpen strategically on eyes and key details using masking to avoid over-crisping skin
- Export with appropriate resolution and file format for your intended use (web vs. print)
The difference between amateur and professional editing lies in restraint. When retouching skin, zoom out frequently to ensure you haven’t obliterated natural texture. Your editing style should enhance what you captured in camera, not overhaul it. Practice the same workflow on multiple images until the steps become muscle memory, then experiment with subtle variations to develop a signature look clients will recognize across your portfolio.
How to Know You’re Making Progress
Progress in portrait photography isn’t always obvious day-to-day, but specific markers will show you’re developing real skill. Watch for consistent exposure across your shots, when you nail skin tones in varied lighting without constant trial and error, your technical foundation is solidifying. You’ll notice your lighting choices become intentional rather than accidental; you’ll start pre-visualizing how light will shape a face before you even raise the camera. Equally telling is how your posing direction evolves: subjects will look more relaxed and natural because you’re communicating clearly and adjusting with confidence rather than hesitation.
Building a portfolio becomes easier as you complete course modules because you’ll have deliberate variety: headshots, natural light work, studio setups. This collection proves you’re not just taking photos but applying photo quality techniques systematically. Critical self-evaluation sharpens when you can articulate why an image works or fails, explaining your lighting pattern choice or why a pose flatters your subject demonstrates real understanding.
Seek feedback from the Camera Bar community and other photographers; constructive critique accelerates growth far faster than working in isolation. When you’re ready for next steps, consider advanced courses focusing on specializations like headshots or environmental portraits or explore mentorship programs that provide personalized guidance. Some photographers transition to building a client base for family sessions or personal branding work, while others deepen technical mastery through workshops. The clearest sign you’ve truly progressed? People start asking you to photograph them.
Common Questions About Portrait Photography Courses
Do I need expensive equipment to start a portrait photography course?
No. Most online portrait photography courses are designed for all levels and work with whatever camera you have, whether that’s a DSLR, mirrorless, or even a capable smartphone. You can learn fundamental techniques with basic gear and upgrade as your skills and budget grow.
How long does it take to complete a portrait photography course?
Completion time varies depending on your schedule. Many courses are self-paced with around nine comprehensive lessons, allowing you to work through material as quickly or slowly as fits your life. Expect to spend several weeks to a few months if you’re practicing consistently between lessons.
Can I really learn portrait photography online without in-person feedback?
Yes. Quality online courses provide structured progression through techniques, and you can supplement learning by sharing work in photography communities for feedback. The key is consistent practice and critically evaluating your own images against course principles.
Is a structured course better than free YouTube tutorials?
Courses offer systematic progression from fundamentals through advanced techniques, ensuring you don’t skip critical concepts. YouTube tutorials are valuable for specific techniques, but they lack the structured learning path and comprehensive coverage that courses provide, especially for beginners who don’t yet know what they need to learn.
Beyond these common questions, remember that portrait photography courses typically require no prior experience or entry requirements. With English-language courses available from around $30 per week, the financial and knowledge barriers are lower than many beginners assume. The investment is less about the gear in your hands and more about the structured guidance that helps you see light, understand your camera settings, and develop the confidence to direct subjects. If you’re committed to practicing what each lesson teaches rather than rushing through content, you’ll build genuine skills that translate to real-world portrait sessions.
A structured portrait photography course gives you a proven roadmap from camera fundamentals through professional editing techniques, eliminating the guesswork that comes with piecing together random tutorials. With self-paced online courses starting at $30 per week and designed for all levels, no prior experience required, you can build genuine expertise on your schedule, working through comprehensive lessons that progress logically from exposure basics to advanced lighting and retouching.
The real transformation happens when you commit to consistent practice between lessons, applying each new concept until it becomes second nature rather than rushing ahead. Don’t underestimate the value of community feedback as you develop your eye and technical skills. Share your work in the Camera Bar forums, ask questions when you’re stuck on a technique, and study how other learners solve similar challenges. Portrait photography rewards patience and repetition more than expensive gear.
Start with the fundamentals, trust the structured progression, and give yourself permission to shoot badly while you learn. You’re building a skill set that opens doors to everything from paid portrait sessions to capturing meaningful family moments with genuine artistry.