
Black and white portrait photography strips away color to reveal the essence of your subject through light, shadow, and emotion. The technique works because it forces you to see and shape tonal relationships, directing attention to form, texture, and expression rather than the distraction of hues. You’ll need a camera capable of shooting in RAW, an understanding of how to read contrast in your scene, and most importantly, the ability to pre-visualize how colors will translate to shades of gray.
This classic approach has seen renewed interest in 2026, particularly among photographers looking to create work with timeless impact. The Met’s ongoing exhibition “The Face of Life: Modern Portraits at The Met” showcases how monochrome portraiture continues to resonate, proving that removing color often adds depth. Whether you’re shooting digital or converting from color files in post-processing, mastering black and white portraits opens a creative dimension that color simply cannot achieve.
The beauty of this technique lies in its accessibility. You don’t need specialized equipment beyond your current camera, but you do need to rewire how you observe light falling across skin, the relationship between highlights and shadows, and how texture becomes a primary storytelling element. Many photographers make the mistake of treating black and white as a simple filter or afterthought, but the strongest monochrome portraits are planned before you ever press the shutter.
This guide walks you through everything from selecting the right tools and settings to developing a post-processing workflow that brings out the full potential of your portraits, helping you avoid common pitfalls and create images that stand the test of time.
What You’ll Need to Get Started
You can start capturing stunning black and white portraits with gear you likely already own. Any digital camera made in the last decade can produce excellent monochrome images, whether you’re shooting with a full-frame DSLR, a crop-sensor mirrorless body, or even a smartphone with manual controls. The real determining factor in your portrait camera choice isn’t the price tag but rather your comfort with the controls and the lens you pair it with.
Your lens selection matters more than your camera body. A 50mm or 85mm prime lens gives you the most flattering perspective for portraits, compressing features naturally while keeping backgrounds pleasantly blurred. If you’re working with a crop-sensor camera, a 35mm lens delivers similar results. Fast apertures like f/1.8 or f/2.8 help you shoot in varied lighting conditions and create that professional separation between subject and background.
Here’s what you need at each level of commitment:
- Must-have: Any digital camera with manual mode, a 50mm or 85mm lens, natural window light
- Recommended: External flash or continuous LED light, collapsible reflector, simple backdrop or clean wall
- Advanced: Light stand and softbox or umbrella, second light for hair or rim lighting, diffusion panels for harsh sunlight
The beauty of digital black and white work is flexibility. Most cameras offer a monochrome picture style or film simulation mode that lets you preview your composition without color, helping you see tonal relationships in real time. But you’ll get the most control by shooting in raw format and converting during editing, which preserves all the color channel data you can manipulate later.
Lighting equipment can be as simple as positioning your subject near a large window. A basic five-in-one reflector disc costs around thirty dollars and bounces light into shadows, giving you control over contrast without electricity. If you want consistent results regardless of weather or time of day, a single speedlight or affordable LED panel paired with a shoot-through umbrella creates soft, directional light that flatters skin tones.
For backdrops, start with what you have. A plain wall, a doorway with good light, or even an outdoor setting with clean backgrounds all work beautifully. Fabric backdrops and collapsible backgrounds come later, once you’ve mastered working with light and composition.
The point is to start shooting now rather than waiting for perfect gear. Technical mastery develops through practice, and black and white photography is forgiving enough to reward your early experiments while demanding enough to keep you learning for years.
Understanding Light and Contrast Before You Shoot
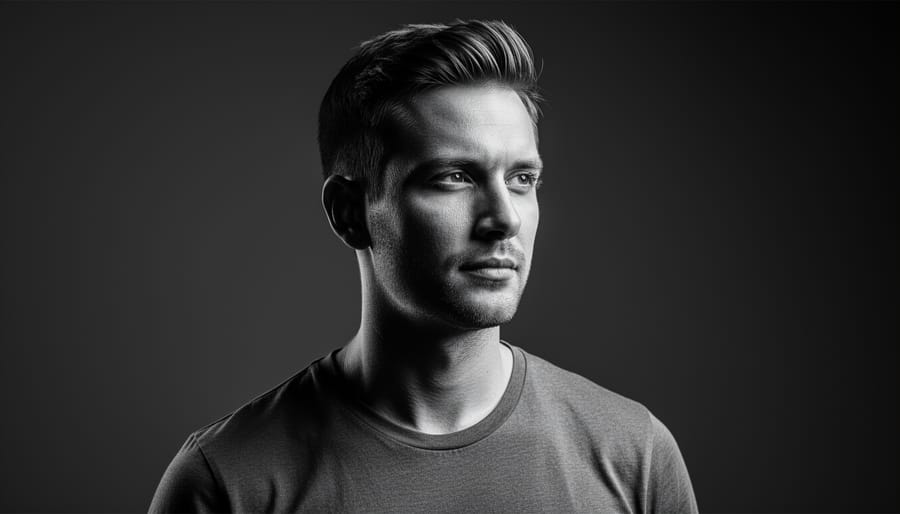
When color vanishes, light becomes your entire vocabulary. Without warm skin tones or vibrant backdrops to create separation, you’re working with pure luminance: the interplay of highlights, midtones, and shadows that define form, mood, and dimension. Strong lighting doesn’t just illuminate your subject, it sculpts their features and tells the story.
Start by training yourself to see in grayscale before you press the shutter. Squint at your scene. This simple trick reduces color information and helps you evaluate tonal contrast. A red shirt and green background might look distinct in color, but if they convert to the same midtone gray, your subject will disappear into the backdrop. Look for tonal separation: faces should stand out from their surroundings through differences in brightness, not hue.
Texture becomes magnified in black and white. Side lighting rakes across skin, fabric, and hair, creating shadows that reveal surface detail. Front lighting flattens these textures, which works beautifully for smooth, timeless portraits but can feel lifeless if overdone. Backlighting carves a luminous edge around your subject, separating them from the background with a rim of light. Each angle creates a different emotional temperature.
Natural window light offers an accessible starting point. Position your subject beside a large window with the light falling across their face at roughly 45 degrees. This setup creates gentle gradation from highlight to shadow, revealing facial structure without harsh transitions. Rembrandt lighting follows this principle but adds a signature triangle of light on the shadowed cheek, named after the Dutch master who painted with similar drama. For moodier work, try split lighting: position your light source 90 degrees to one side so exactly half the face falls into shadow. This technique carries weight and introspection.
The quality of light matters as much as its direction. Soft, diffused light (from overcast skies or a sheer curtain) wraps around your subject with gradual tonal transitions, ideal for flattering skin. Hard light (direct sun or a bare bulb) carves sharp-edged shadows that emphasize bone structure and create high contrast, perfect for graphic, bold portraits. Neither is better; each serves a different vision. Decide what emotion you want to evoke, then choose your light to match.
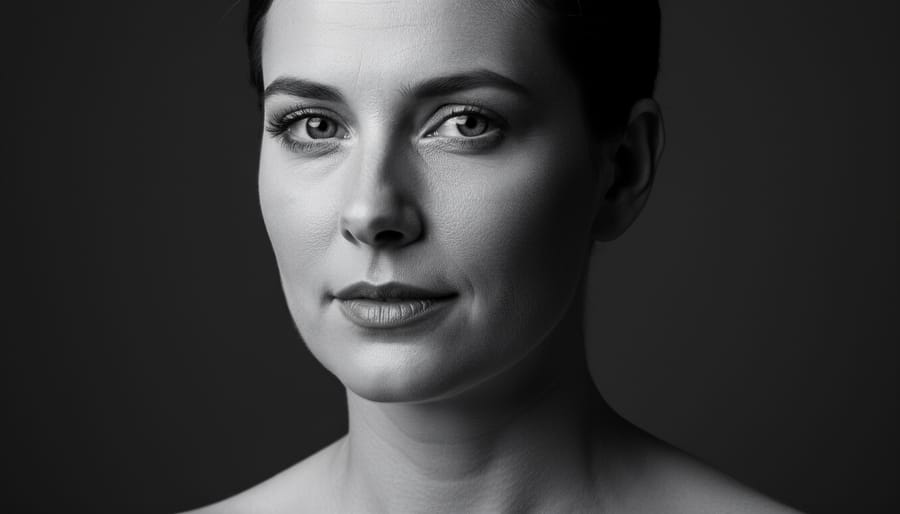
Camera Settings and Shooting Technique
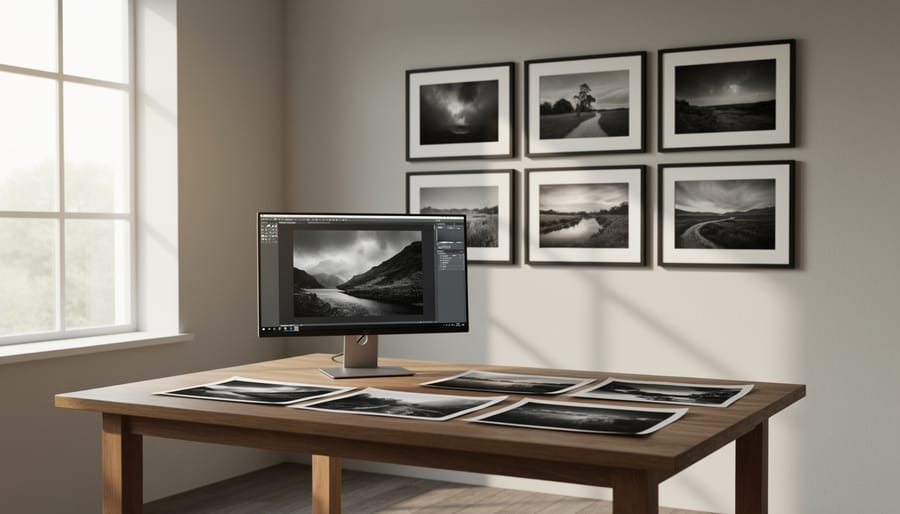
The most flexible approach is to shoot raw color files while using your camera’s monochrome preview mode to judge composition in real time. This gives you the full color data for post-processing adjustments while training your eye to see in tones rather than hues. Most cameras offer a monochrome picture style or creative mode that shows the grayscale version on your LCD and electronic viewfinder without limiting your editing options later.
For ISO settings, think beyond just avoiding noise. A moderate amount of grain can add character and texture to black and white portraits, particularly for moody or dramatic work. Starting around ISO 400 to 800 gives you a clean base with subtle grain that enhances rather than distracts. If you want smoother skin tones and finer detail, stay at ISO 100 to 200. For intentional grit and atmosphere, don’t hesitate to push to ISO 1600 or higher, since grain reads as texture in monochrome rather than as a technical flaw.
Aperture choices shape how your viewer’s attention moves through the frame. A wide aperture like f/1.8 or f/2.8 isolates your subject with shallow depth of field, which works beautifully for close-up portraits where the eyes remain sharp while everything else falls away. For environmental portraits or group shots where context matters, stop down to f/5.6 or f/8 to keep more of the scene in focus. Remember that black and white relies on contrast and composition without color to separate subject from background, so depth of field becomes an even more powerful tool for directing the eye.
Shutter speed should prioritize sharpness above all else, especially for the eyes. Aim for at least 1/125 second as a baseline for handheld shooting, faster if you or your subject moves. When using longer focal lengths, follow the reciprocal rule: for a 100mm lens, shoot at 1/100 second or faster. If you’re working with available light and need slower speeds, stabilize yourself against a wall or use continuous shooting mode to increase your odds of capturing a perfectly sharp frame. A slightly underexposed but sharp image is far easier to recover in post than a well-exposed blur.
Step-by-Step: Shooting Your Black and White Portrait
Before you raise the camera, you need a clear workflow that accounts for light, subject comfort, and the unique demands of monochrome composition. Here’s the step-by-step process that will help you capture portraits with rich tonal range and authentic emotion.
- Set up your lighting and test the scene. Position your subject near your primary light source, whether that’s a window, a softbox, or a reflector bouncing natural light. Take a test shot and review it in your camera’s monochrome preview mode. Look for harsh shadows on the face, blown-out highlights on the skin, or muddy midtones that lack separation. Adjust your subject’s distance from the light or add a fill reflector on the shadow side until you see clear definition between light and shadow areas.
- Frame your composition with tonal contrast in mind. Choose a background that creates separation from your subject through tone, not color. A medium-gray wall might blend with mid-tone skin in black and white, while a darker or lighter backdrop will make your subject pop. Position your subject so catchlights appear in their eyes and check that clothing textures read clearly without color cues. If a garment looks flat or blends into skin tones, ask your subject to adjust or swap it.
- Prepare your subject and establish connection. Explain what you’re aiming for and show them a few reference images if helpful. Have them relax their shoulders, soften their jaw, and breathe naturally. A tense subject shows in every muscle, and black and white amplifies those subtle lines. Spend a minute in conversation before you start shooting to let them settle into the process.
- Direct for genuine expressions, not poses. Instead of saying “smile,” ask a question that prompts a real reaction or give an instruction like “think about your favorite weekend memory.” Shoot while they’re responding, not after they’ve frozen into position. Capture the micro-expressions between deliberate poses. These unguarded moments often yield the most compelling portraits because authenticity translates powerfully in monochrome.
- Monitor exposure and histogram as you shoot. Glance at your histogram after every few frames to confirm you’re holding detail in both shadows and highlights. In black and white work, a clipped histogram means lost information you can’t recover in post. If highlights are blowing out on the forehead or cheekbones, reduce your exposure by a third to half a stop. If shadows are blocking up, add fill light or open up your aperture slightly.
- Vary your angles and focal lengths mid-session. Shoot a series from one position, then move closer or shift to a different height. A slight change in perspective alters how light sculpts the face and can reveal new expressions. Try a few frames at different apertures to compare how depth of field affects the mood. Shallow depth isolates features, while deeper focus can incorporate environmental context that adds narrative weight.
- Review your shots for emotional impact and technical quality. Zoom in on the eyes to verify critical sharpness. Check the overall tonal balance: does the image have a full range from true black to clean white, or is everything clustered in the midtones? Evaluate whether the portrait conveys the feeling you intended. If something feels off, adjust one variable at a time rather than changing multiple settings and losing track of what works.
- Capture more frames than you think you need. Even experienced photographers shoot in bursts to catch fleeting expressions. Subtle shifts in gaze direction, the tilt of a head, or a momentary softening of the mouth can transform a competent portrait into a striking one. Give yourself options to choose from during editing, when you can assess the full session with fresh eyes.
This structured approach keeps you focused on the elements that matter most in black and white portraiture: light quality, tonal separation, and authentic human connection. Each step builds on the previous one, creating a rhythm that helps both you and your subject relax into the session. Once you’ve worked through this process a few times, it becomes intuitive, freeing you to respond creatively to what’s happening in front of the lens rather than troubleshooting technical issues.
Converting and Editing Your Images
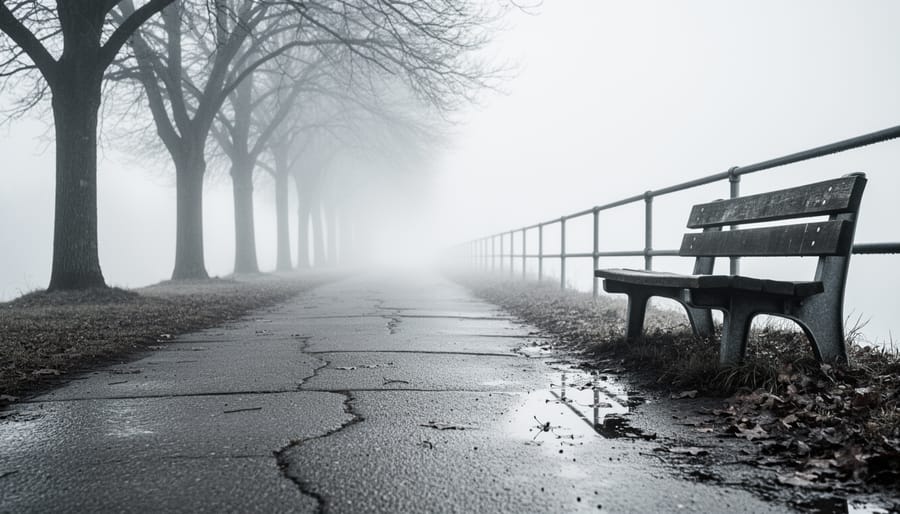
Raw capture is just the beginning. The real craft of black and white portrait photography happens in post-processing, where you transform a color file into a monochrome image with depth, emotion, and impact.
Start your conversion in software like Adobe Lightroom, Capture One, or even free alternatives like GIMP. If you shot in raw format, you have maximum flexibility. Navigate to the black and white conversion panel, in Lightroom black and white conversions, this means clicking the B&W option in the HSL/Color panel or pressing V.
Here’s where beginners make their first mistake: they click the conversion button and stop. That produces a flat, uninspiring image because the software just desaturates everything equally. Instead, use color channel adjustments to control how different colors translate to grayscale. In Lightroom’s Black & White Mix panel, dragging the orange and red sliders right brightens skin tones and creates a glowing quality. Pull the blue slider left to darken skies or clothing. Yellow adjustments affect warm highlights on the face.
Watch your histogram as you work. A successful black and white portrait uses the full tonal range from pure black to clean white, with rich midtones in between. Adjust your contrast curve in a subtle S-shape to add punch without crushing detail. Start with a gentle curve, you can always increase it, but recovering lost shadow or highlight information is impossible.
The dodge and burn technique adds three-dimensional depth to flat-looking portraits. Use the adjustment brush to subtly brighten (dodge) the high points of the face, forehead, cheekbones, bridge of the nose. Then darken (burn) the sides of the face, neck, and background to create separation and draw the eye to your subject. Keep opacity between 10-20% and build gradually. Heavy-handed dodging makes skin look plastic.
For texture, add subtle grain through your software’s grain or film grain panel. Set the amount between 15-30, size around 25, and roughness to taste. This mimics traditional film and can hide minor skin imperfections while adding character. Too much grain distracts; aim for a texture you notice only when you look closely.
Split toning adds warmth or coolness to your monochrome image. In Lightroom’s Split Toning panel, try a slight warm tone (sepia-leaning) in the highlights and a cool tone in the shadows for a contemporary look. Keep saturation below 15 to maintain the black and white feel while adding subtle mood.
Common Mistakes and How to Avoid Them
Even experienced photographers stumble into predictable traps when working in monochrome. The most common mistake is converting poorly-lit color images and expecting post-processing to rescue them. If your original capture lacks dimension, interesting light, or defined contrast, no amount of black and white conversion will salvage it. Always evaluate whether your lighting and composition are strong enough before you press the shutter.
Over-reliance on preset filters is another frequent pitfall. While one-click conversions can be tempting, they rarely account for your specific subject’s skin texture, the nuances of your lighting setup, or the mood you’re trying to convey. Instead, learn to adjust individual color channels during conversion. Pull down the red channel to darken skin tones, raise the orange to brighten them, or adjust the blue channel to control eyes and clothing. This manual approach gives you precise control rather than generic results.
Many beginners also over-process their portraits, creating artificially smooth skin that looks plastic or adding so much clarity and grain that the image feels harsh. Black and white photography thrives on texture, but there’s a balance. You want to see natural skin detail without magnifying every pore, and grain should enhance the mood rather than distract from your subject’s expression. When in doubt, dial back your adjustments by twenty percent.
Finally, watch for inconsistent retouching decisions. If you smooth skin heavily but leave sharp wrinkles around the eyes, or if you dodge certain areas while ignoring similar tones elsewhere, the viewer’s eye will catch these discrepancies immediately. Step back from your screen periodically, view your image at full size rather than zoomed in, and ask whether your edits serve the portrait or simply showcase your processing skills.
Evaluating Your Results and Next Steps
Step back from your work and assess each image with fresh eyes. Check the histogram first: a successful black and white portrait should show information across the full tonal range from pure black through midtones to clean whites, without large gaps or clipping at either end. Zoom to 100% and confirm your focus landed precisely on the eyes. If the catchlights are sharp and the iris detail is crisp, you’ve nailed the technical foundation.
Now evaluate the emotional substance. Does the image communicate something real about your subject? The best monochrome portraits reveal character and mood that the absence of color amplifies rather than diminishes. If removing color weakened the image instead of strengthening it, that’s valuable feedback for your next session.
Build a small portfolio of your strongest work and share it. The Camera Bar community offers supportive feedback that accelerates your growth faster than working in isolation. Study the masters: Karsh’s dramatic lighting, Arnold Newman’s environmental portraits and Penn’s stark simplicity all offer different approaches to monochrome portraiture worth analyzing.
Once you’ve mastered digital conversion, consider exploring film photography for its unique tonal qualities and methodical workflow, or darkroom printing for complete creative control. A structured portrait learning course can provide frameworks that organize your practice and push you past intermediate plateaus.
The path from competent to compelling takes dedicated practice. Shoot regularly, critique honestly, and study work that challenges your assumptions. Each portrait teaches you something new about light, composition, and human connection if you’re willing to learn from both successes and failures.
Frequently Asked Questions
Should I shoot in monochrome mode or convert from color later?
Shoot in raw color mode and convert during editing. This preserves all the color information in your file, giving you complete control over how different colors translate to grayscale through channel adjustments. You can still enable your camera’s monochrome preview to visualize the final look while composing.
How do I know if a subject will work well in black and white?
Look for strong contrast, interesting textures, and expressive features rather than relying on color for visual interest. Subjects with distinctive bone structure, weathered skin, or dramatic lighting setups tend to shine in monochrome. When in doubt, ask yourself if the image would still be compelling without its colors.
Is film or digital better for learning black and white portrait photography?
Digital is more practical for learning because you get instant feedback, unlimited practice shots, and flexible editing options. Film teaches discipline and intentionality, but the delayed results and higher costs can slow your progress. Start with digital to build your skills, then explore film if you want the unique aesthetic it offers.
What’s the best way to print black and white portraits?
Work with a lab that specializes in fine art printing or invest in a quality inkjet printer with dedicated black inks for smooth tonal gradations. Calibrate your monitor so what you see on screen matches the print, and test your file on small proof prints before committing to larger sizes.
Where can I find inspiration and get feedback on my work?
Study master photographers like Richard Avedon, Yousuf Karsh, and contemporary artists featured in exhibitions such as The Met’s ongoing “The Face of Life: Modern Portraits at The Met.” Share your images with the Camera Bar community for constructive critique and join online forums or local photography groups focused on portrait work.
The beauty of black and white portrait photography lies in its accessibility. You don’t need exotic locations or elaborate props when you’re working with light, shadow, and human expression. Start by photographing willing friends or family members in natural window light, then gradually experiment with different lighting setups and post-processing approaches. Every portrait you take teaches you something new about how tones interact and how to bring out your subject’s character. The learning curve rewards consistent practice, and the monochrome format strips away distractions so you can focus on what truly matters in a portrait.
Black and white portrait photography strips away the distraction of color and leaves you with pure emotion, light, and form. It’s a discipline that rewards those who see beyond the surface and understand how shadow and highlight can reveal character. The techniques you’ve learned here are just the beginning. Real growth happens when you pick up your camera, experiment with different lighting setups, make mistakes, and discover what works for your vision.
Don’t wait for perfect conditions or professional equipment. Start with what you have. Shoot portraits of friends, family, or even yourself. Pay attention to how light falls across faces. Notice which expressions translate powerfully to monochrome. Each session teaches you something new about contrast, composition, and connection with your subject.
The Camera Bar community exists to support your creative journey. Share your work, ask questions, and learn from photographers at every skill level. We’ve all struggled with blown highlights, flat lighting, and finding our artistic voice. That shared experience creates a space where you can grow without judgment.
Technical mastery matters, but it’s only a tool. The real magic happens when you combine your understanding of light, exposure, and post-processing with genuine human connection and artistic intent. Your unique perspective is what transforms a technically correct image into a portrait that resonates. Pick up your camera and start creating.